

Checkout the Github of the TuringDB Community Version If you want to support TuringDB leave us a star on Github !
Quick install. The fastest way to install TuringDB in your home directory.
curl https://install.turingdb.ai | bashUsing Claude Code? Install the TuringDB skill once and let Claude handle the rest of this quickstart for you:
npx skills add https://github.com/turing-db/turingdb-skillsThen in Claude Code run /turingdb install turingdb and create a first graph. See the Claude Code Skill page for more.
Create a Python project with TuringDB
The steps below walk you through setting up a Python project, installing the TuringDB SDK, and running your first graph.
Create a UV project
Create a new directory for your project and initialize it with uv:
mkdir my_app
cd my_app
uv initInstall TuringDB Python SDK
Using uv package manager:
uv add turingdbor using the pip :
pip install turingdbYou can also install TuringDB using cmake: instructions on Github (link)
Running TuringDB
If you want to launch TuringDB instantly in the CLI
turingdbIf you want to launch TuringDB in the background as a daemon
turingdb -demonTo stop TuringDB running in the background:
turingdb stopExample to create and query a graph
Create graph → list graph → create node & create edge → commit → list graphs → match query
Python SDK
from turingdb import TuringDB

# Create TuringDB client
# set host parameter to the URL (as string) on which TuringDB is running,
# default "http://localhost:6666"
client = TuringDB(host="http://localhost:6666")

# Create a new graph called my_graph
client.create_graph("mygraph")

# Set working graph
client.set_graph("mygraph")

# Create a new change on the graph
change = client.new_change()

# Checkout into the change
client.checkout(change=change)

# Create a node Person (Jane) - Edge (knows) - node (John)
client.query("CREATE (n:Person {name: 'Jane'})-[e:KNOWS]->(m:Person {name: 'John'})")

# Commit the change
client.query("COMMIT")
client.query("CHANGE SUBMIT")

# Checkout back to main
client.checkout()

# Query graph
client.query("MATCH (n) RETURN n")Visualise the graph you have created in TuringDB
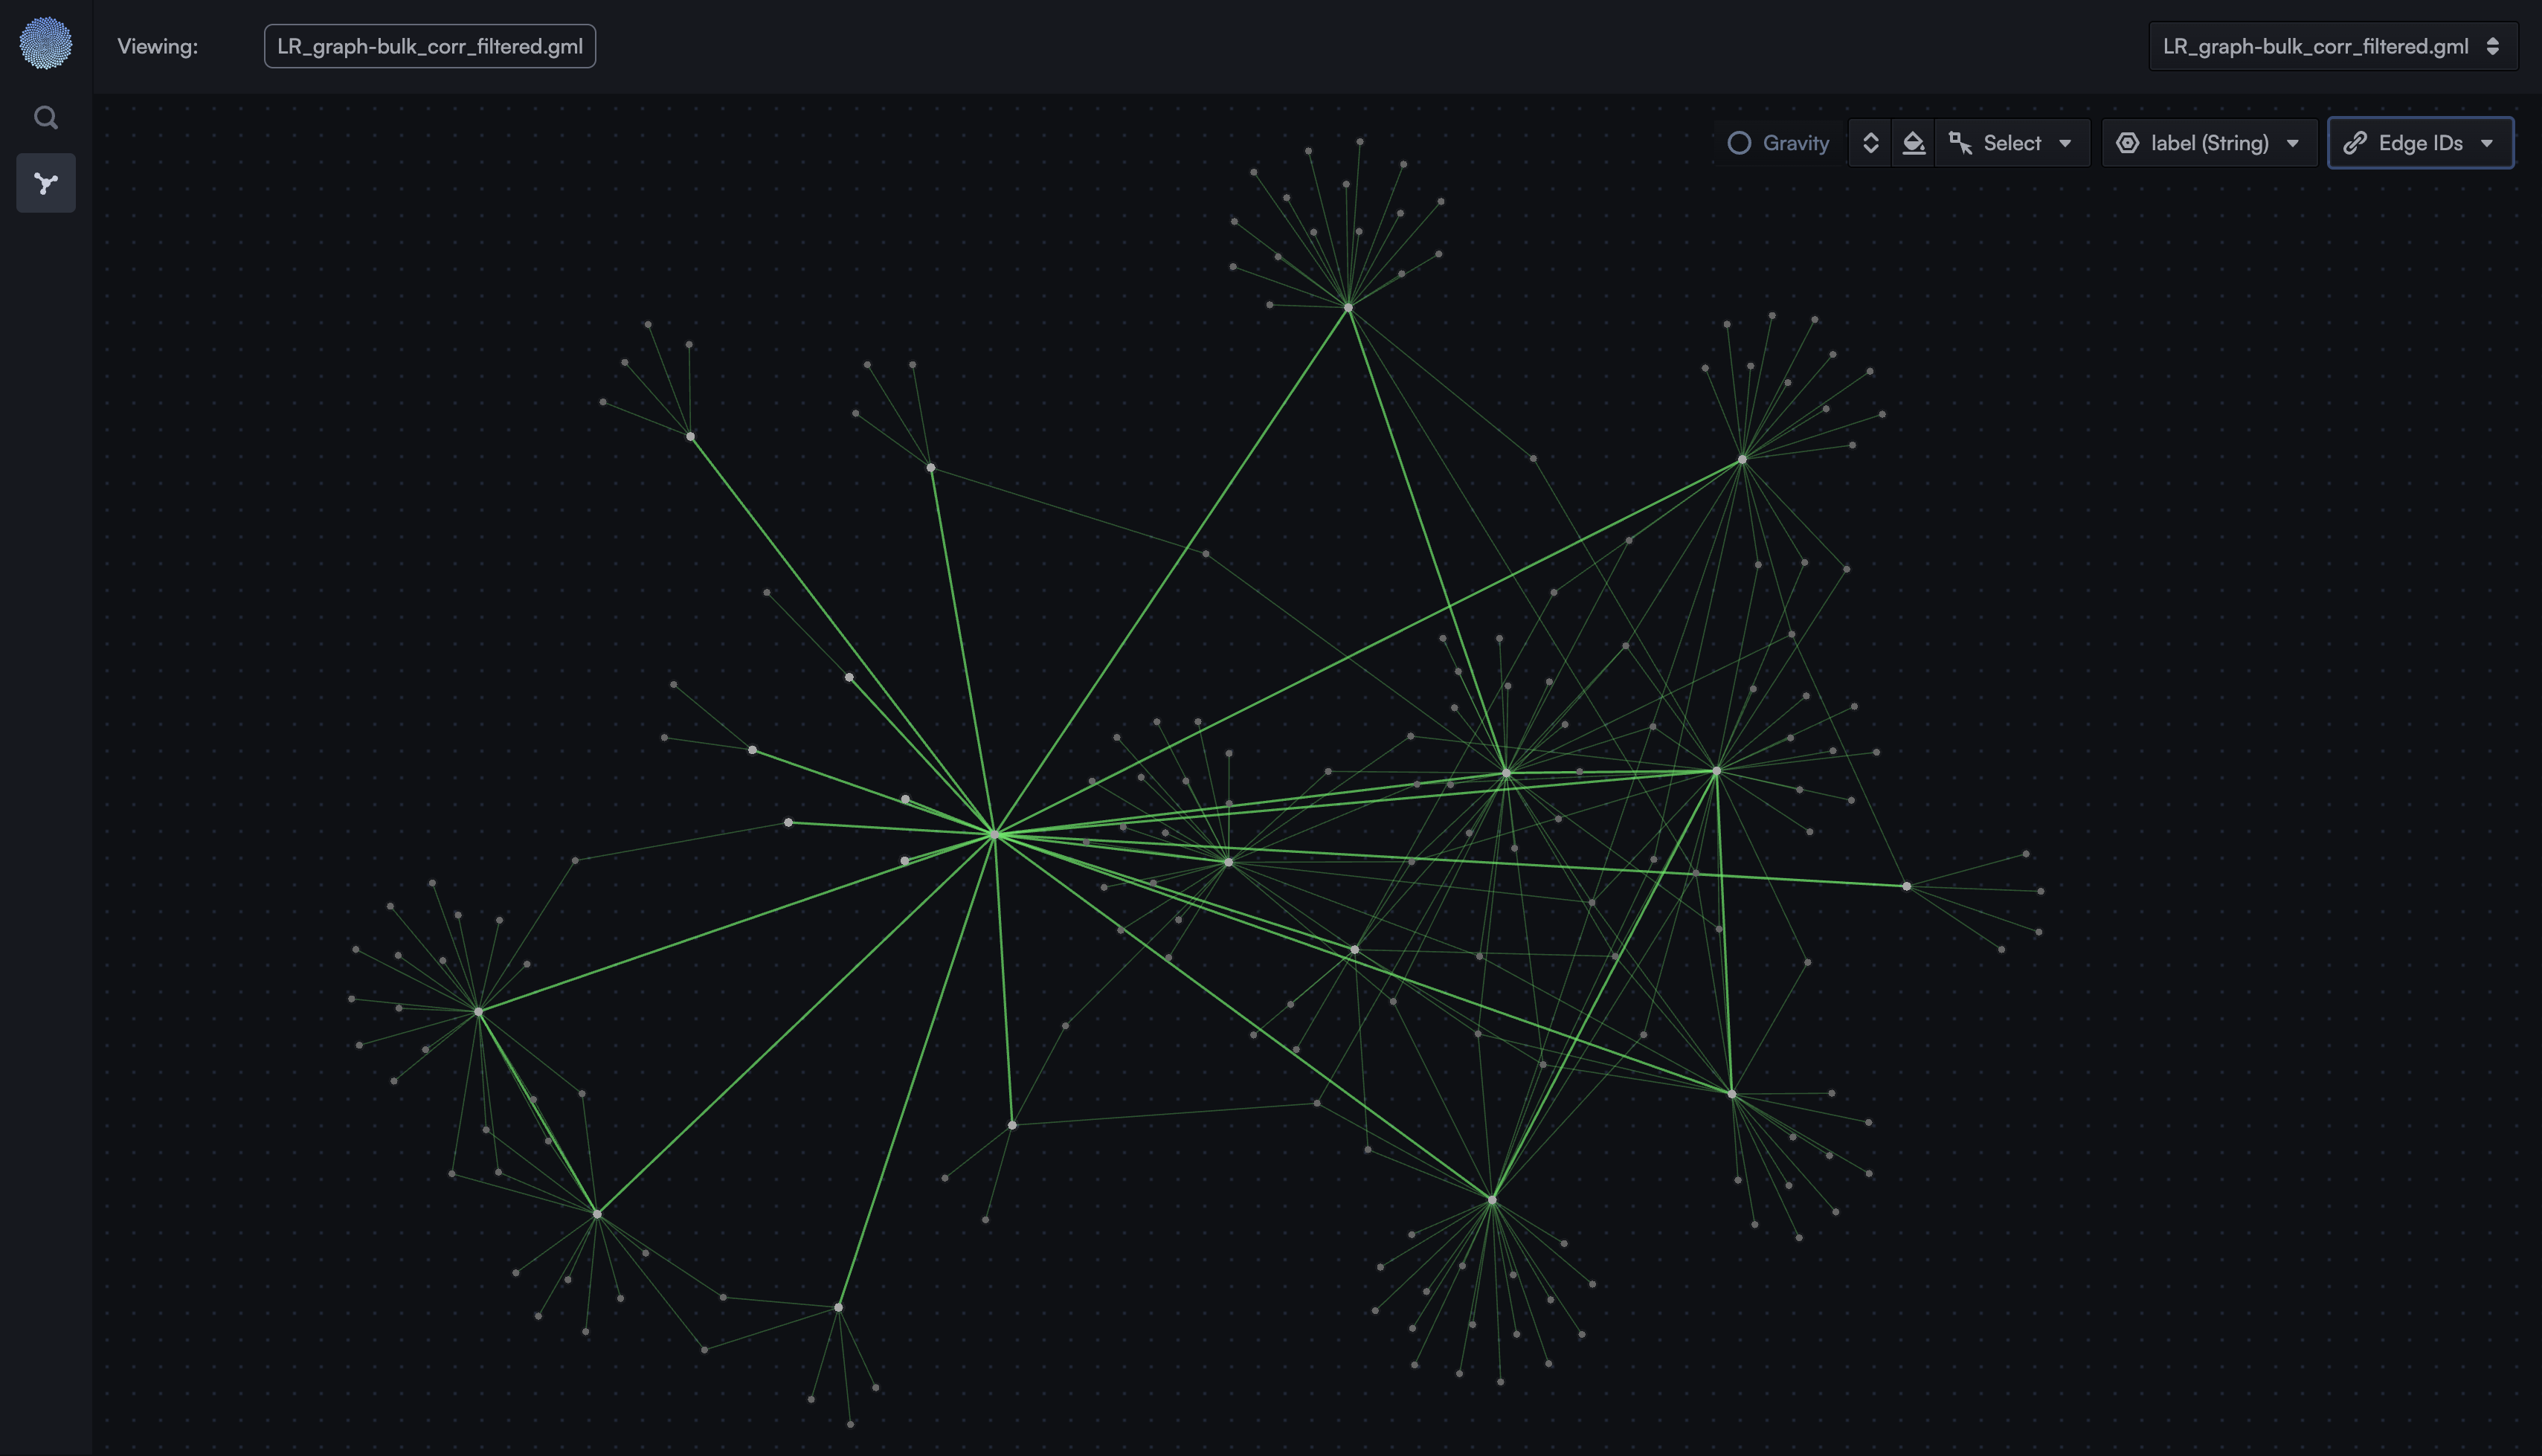
TuringDB has a built-in visualiser to explore your graphs in the browser. Launch it with the -ui flag:
turingdb -uiThen open http://localhost:8080 in your browser.
Exploring your graph:
- Launch the UI with
turingdb -ui - Choose on the top right the graph you want to explore
- Search a node of interest using the search tool or type a CYPHER query
- Click on nodes to inspect nodes, double click to expand neighbors..etc.
You are done!